Sunset Hawaii Fencing Company
CALL US NOW 808-201-0912
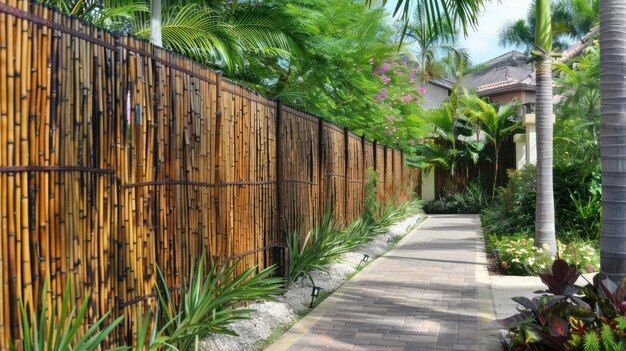
Site Preparation for Fencing in Hawaii: Key Takeaways for Success
If you think site preparation is important in concrete construction, it’s just as essential in fence installation and shouldn’t be neglected. This will allow you to achieve the expected outcome and avoid potential problems during the installation process. In some cases, with sunset fencing in Hawaii, even if the installation process is perfectly fine, issues show up due to preparation mistakes, which we don’t want to happen. To guide you, here are the steps to prepare your site for a successful fencing installation.
Step 1: Site Evaluation
First, it is important to assess if the site is ready for installation. Before starting the actual installation process, here are the things you should check out:
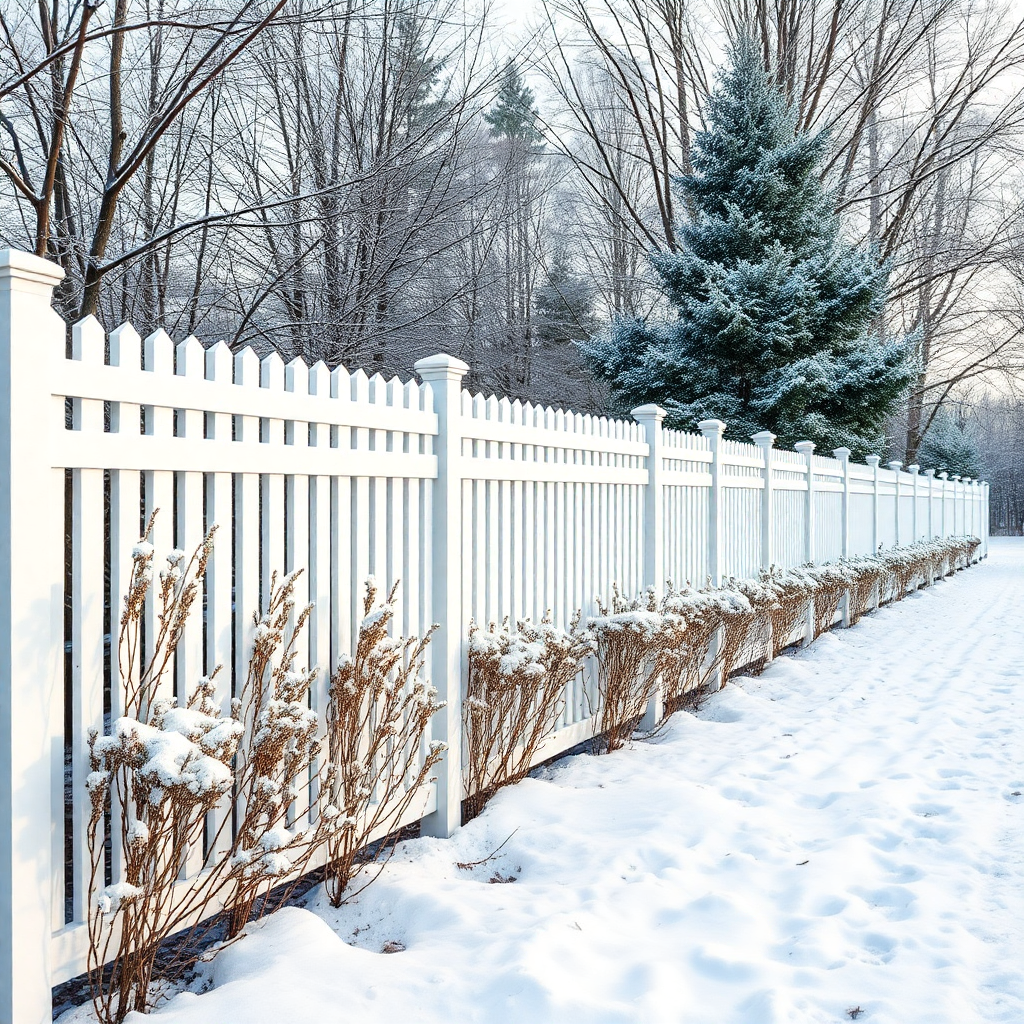
Soil Type: A fence's stability depends on the soil type you have in your area. In Hawaii, it is very common to have sandy or rocky soil in coastal areas. On the other hand, volcanic soil can also be present in others. If your soil is sandy or loose, it means you need reinforcement or a deeper post setting to ensure the stability of your sunset fence in Hawaii.
Slope and Drainage: Natural slopes and frequent rain can result in drainage challenges for fences in Hawaii. Always remember, your fences should not obstruct natural drainage paths to prevent water buildup around posts. If neglected, this can lead to erosion and weaken your Hawaii fence over time. Also, consider a stepped or contoured fence design for sloped areas.
Wind Exposure: if you are near a coastal area, high winds can place strain on your fences. Identifying the wind direction and strength in your area will help decide on post depth and material for wind resistance.
Step 2: Permits and Approval
Check with the local authorities and homeowner associations before you start the installation process to ensure your Hawaiian fences adhere to zoning laws and community regulations. Some areas in Hawaii have their specific guidelines in consideration of environmental and historical aspects. Here are the things you should secure first:
- Height and material restriction
- HOA approval
- Property boundary lines
Step 3: Clear the Site for Installation
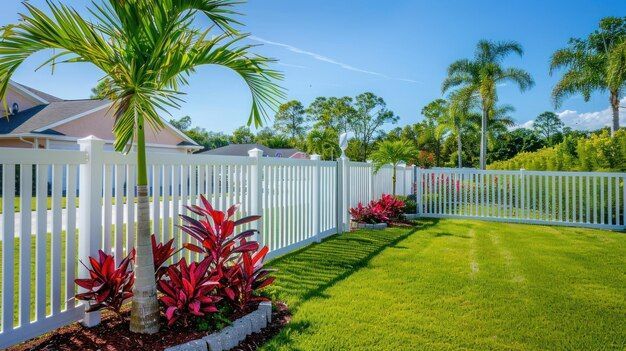
Grass, garbage, other debris, and obstructions can hinder you and affect the fence placement. That is why clearing the fence line thoroughly ensures a smooth installation of the fence in Hawaii.
Remove vegetation and debris to ensure an unobstructed installation path and prevent vegetation that can damage your fencing in Hawaii over time. Also, locate and mark underground utility lines (such as water, gas, or electrical lines) to avoid potential hazards.
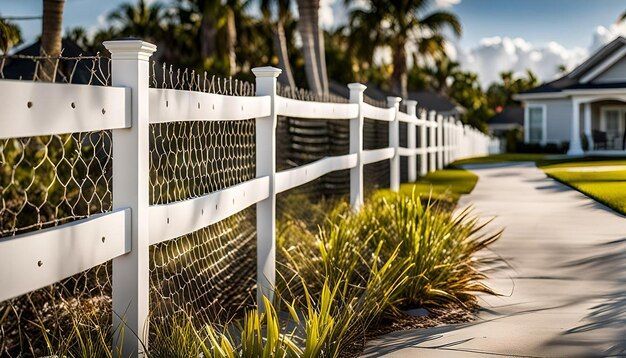
Step 4: Mark the Fence Line and Posts
After securing and ensuring that the site is clear, mark the fence line and post locations. This will help you accurately align your fence with your design and property lines, and to ensure straight and balanced fencing in Hawaii.
Stake the corners and endpoints along the intended fence. You can use a string or line level between the stakes to create a guide. Mark where each post will go, every 6-8 feet, depending on your preferred material and design. Consider closer post spacing in areas with high winds to make your fences more stable.
Step 5: Level the Ground and Plan for Drainage
Like we all know, Hawaii’s terrain can vary from flat to mountainous. That is why areas with uneven or sloped ground will require additional leveling. You can use simple tools such as shovel, rake, pickaxe, or mattock to level the ground along the fence line. Also, it is best to choose a stepped fence on steeper slopes, adjusting each section to accommodate the change in height.
Moreover, moisture buildup can cause post rot and soil erosion if the drainage in your Hawaii fence is inadequate. To avoid this, consider adding gravel at the bottom of each post hole to manage drainage or constructing small channels to help water flow where necessary.
Step 6: Prepare and Dig Post Holes
After all those preps, it’s digging time. This is one of the most crucial steps in Hawaii fencing, especially in our island’s varied soil conditions.
Post Depth: A standard depth of fences is around 2 feet. However, if you are in an area with sandy or loose soil, dig deeper holes for about 3 feet or more to make your fence more stable to brighten your yard
Reinforce with Concrete: Now that each post is set, backfill with concrete and allow it to be cured before attaching the fence panels. Concrete can provide a strong and secure foundation for fence posts, especially in more challenging areas.
Add Gravel for Drainage: If you chose wood as your fence material, place a few inches of gravel at the bottom of each hole to improve drainage and minimize moisture around the baseline of the post.
Step 7: Final Preparation Before Installation
Before going to the actual fence installation, it is best to make a final check. Consider the following:
Check Alignment and Measurements: Make sure that your posts are aligned with your initial boundary markers and that each section is level. Adjust any uneven posts before pouring the concrete.
Inspect the Site for Obstructions: Recheck the fence line for the time and ensure that there are no obstacles that might interfere with fence panel placement.
Review Safety Protocols: Review safety guidelines within the team to avoid accidents.
Key Takeaways for a Successful Site Preparation in Hawaii Fencing
Ensuring proper site preparation is like giving yourself a head start in having a successful fence installation. To ensure that everything is done correctly, seek professional assistance from a local Hawaii fencing contractor. If you need professional help, message us now.